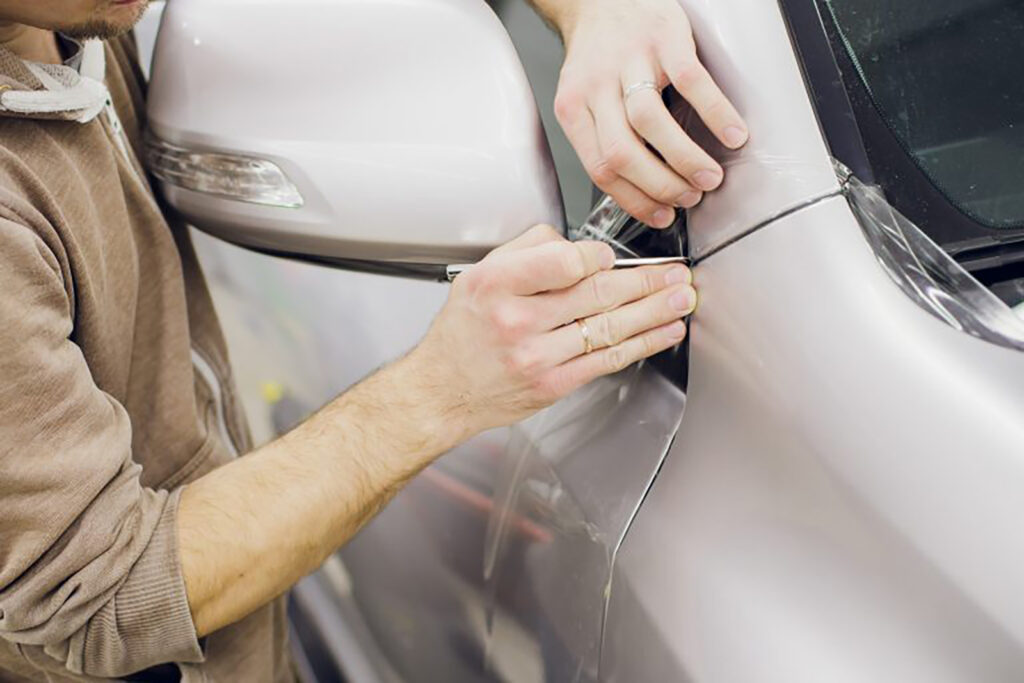
Issues with your car can start to add up quickly. Even a small problem such as paint chips can cost over a hundred dollars, and expensive repairs can cost you thousands.
Because things can get so pricey, it’s important to take care of issues right away – and on your own whenever possible.
This is especially true when it comes to paint chip repairs. This is a small issue that professionals will charge hundreds for, but you can take care of them yourself. You’ll want to do this right away as these small chips can turn to rust very quickly. Below are some tips and tricks to help you deal do your own paint chip repairs and auto paint matching.
1) Supplies
Before going through these tips and getting started, make sure you have all of your supplies handy. Here’s what you’ll need:
- Touch-up paint for your specific make and model
- Denatured Alcohol
- Polishing Compound
- Warm water and soap
- A few rags
You’ll learn how to find the items you don’t already have in these tips. Go through them once before getting started, and again while you’re working on the car step-by-step.
2) Clean the Auto Paint Chips
The first thing you’ll want to do is clean off the area where the paint is damaged. Do this with a simple mixture of soap and warm water, and then dry the area off with a cloth once you’ve scrubbed it.
After this, use an automotive polishing compound on the damaged area. This will help you take care of sharp edges. Don’t use too much, though, or the area will become clouded.
3) Go Over it With Alcohol
Now that you’ve cleaned the area with good old soap and water and an automotive polishing compound, you need to go over it with alcohol. It is important to make sure you have denatured alcohol, as others can cause additional damage.
There’s no need to use an excessive amount. Just a few swipes with a soft cloth will do the trick. This will remove any remaining substances on the area.
4) Applying Primer
Next, apply primer onto the area that you’ve cleaned up. Using the wooden end of a match, fill the chips with a dab of primer. It should fill the chip evenly while barely touching the edges of the chip. Once you do this, allow at least thirty minutes for the primer to dry.
5) Paint the Chip
After you’ve waited thirty minutes, it’s time to paint the chip. To locate the correct paint, head Pete’s Paint & Parts. They’ll have a section of touch-up paints. There will be a booklet where you can search your car’s year, make, and model to make auto paint matching easy.
Once you have the right paint, test it out on a sheet of paper so you can make sure you have the right color. If you fill the chips with the wrong color, you’ll be even worse off.
Before getting started on the chips, make sure your car is not being hit by direct sunlight. This will effect how the paint dries. Also make sure it’s not under fifty degrees fahrenheit while you do these repairs. When the weather gets warm, the chip will slightly expand. This will cause the area you filled with touch-up paint to become distorted.
Apply a small amount of paint over the primer coat. Give it about an hour to dry, then apply a second coat. After you’ve had the new paint on for a few days, rub it with the polishing compound again to smooth it over so that it’s even with the rest of the body.
If you have a vintage or unique car, you’ll have to opt for custom paint matching. In this case, you’ll have to head to an experienced body shop. One that specializes in customized vehicles, or even better, your make, should be able to help you. However, you’ll have to pay them to do the job at this point. But they will be able to provide a custom paint matching service that will have your car looking brand new again.
6) Bonus Tips
- For deep scratches or large gravel chips, sand down the area before starting step one.
- Don’t worry if the area of your paint chip repair is higher than the rest of the paint. When you polish it a week after painting, it’ll even out.
- Applying wax coat to the repaired area will help preserve your repair and against rain and snow.
Using these tips and tricks will have your car looking good as new. The most important things to remember are to make sure the paint is available and matches, and that you have all of your supplies before getting started. If you follow these tips and tricks, you’ll be able to get the job done without a problem.
